搭建自己的工作环境
Contents
本文用于记录如何搭建适合自己的高效工作环境,适用于 MacBook。
HomeBrew
安装
|
|
Oh, My ZSH~
zsh 是 Linux 和 MacOS 常用的命令解释器,相比于默认的 Bash,Zsh 有更多的自定义选项,并支持扩展。因此 zsh 可以实现更强大的命令补全,命令高亮等一系列酷炫功能。
不过配置 zsh 是个比较麻烦的事情,于是有位小哥 Robby Russell 在 github 上分享了他的 zsh 配置(ohmyzsh)。他的默认主题就很对我的胃口。
安装
如果有条件翻墙,直接执行下面的命令即可
|
|
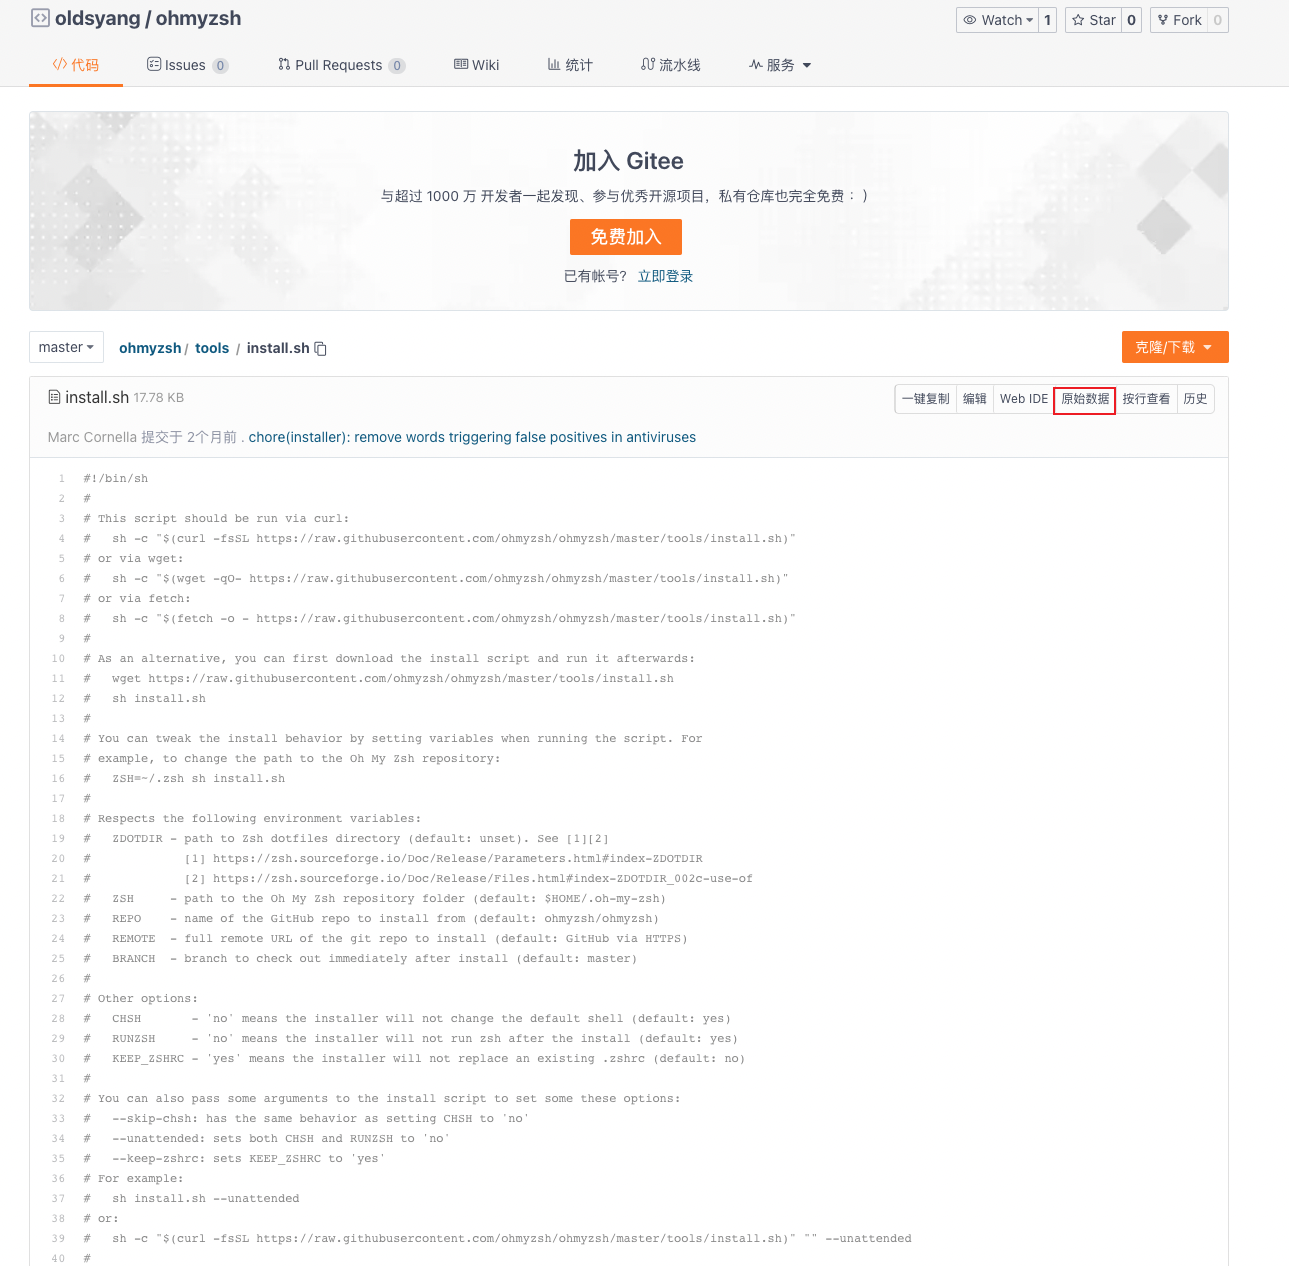
如果翻不了墙,可以使用国内用户 fork 的仓库,具体操作步骤如下。
- 打开 gitee 网站
- 搜索
ohmyzsh,挑一个顺眼的仓库 - 找到文件
tools/install.sh - 点击页面上的
原始数据按钮
- 将浏览器地址栏的 URL 复制,执行如下命令安装
|
|
更换主题
如果觉得 myzsh 的默认主题不符合你的审美,那么可以修改 ~/.zshrc 中的配置项 ZSH_THEME,可用的主题详见vscode themes
启用插件
通过将插件的名称添加到 ~/.zshrc 文件中的 plugins 数组来启用插件。比如,想要启用 git 和 vscode 插件,只需要如下设置(注意: 插件之间用空格隔开,不要使用逗号)
|
|
插件列表详见plugins
Git
安装
|
|
设置常用命令的别名
|
|
VSCode
安装
直接去官网(vscode)下载安装即可,如果发现下载缓慢,可以参考这篇文章
设置命令行启动 VSCode
按下 shift+cmd+P打开命令面板,找到 Shell Command: Install 'code' command in PATH,按下回车键。
然后就可以在终端键入 code . 命令打开 VsCode,并且打开当前文件夹。
当你要接手一个新项目的时候,下载代码、打开 IDE 将会变得非常丝滑
|
|
常用扩展
通用
- 简体中文语言扩展
- GitLens
- Git History
- Markdown All in One
- Markdown Preview Enhanced
- Makefile Tools
- Local History
- Project Manager
- Todo Tree
- protobuf
- Protobuf support
- vscode-proto3
- Better TOML
- YAML
